
I am so pumped about this post! I did something ya’ll. I tried something new. Some might think it’s slightly coo-coo. But it’s not. It’s a thing…a big thing…a real game changer! I fermented fruit! And I used some new equipment to help me…which made my (fermentation) life WAY easier!

Recently, I was given a B.I.G. load of strawberry “seconds”–these are strawberries that don’t make the first cut for being included in CSA boxes or for selling at farmers markets. They may have some bug bites, soft spots, or just not look as “pretty” as their first cousins. But after cutting away the bad spots, they’re totally fine to eat and taste delicious. But here’s the deal with strawberries, they don’t last long in the fridge; they’re pretty time sensitive, so you have to preserve them in some way if you want them to last. I ended up freezing most of them (whole or in pieces, after cutting off the tops and bad spots). I also pureed a bunch, poured that into jars and froze them for later use in sauces, jams, smoothies, dessert fillings, etc. And then, I fermented some. Yup, I FERMENTED them. And they’re amazing! I’m going to make a prediction: fruit fermentation is gonna take off; it’s gonna be more prevalent in the near future because it’s so easy and delicious and good for us!
I’ve dabbled in fermentation for the past couple years, but for some reason I have a tricky time keeping whatever I’m fermenting submerged in the liquid. Bits always tend to creep up and end up getting moldy. It’s been frustrating for me; I’ve had to toss out whole batches of sauerkraut and it breaks my heart. I almost gave up. And then I saw a Kickstarter last year for a fermentation lid — a device to keep the contents submerged that fits right on top of your wide-mouth mason jars. It seemed fool-proof and made so much sense…and could make my life much easier and save me money and food in the end! I contributed, waited a while for the production of the equipment, then received my Kraut Source this winter. Guys…it works like a gosh dang dream!
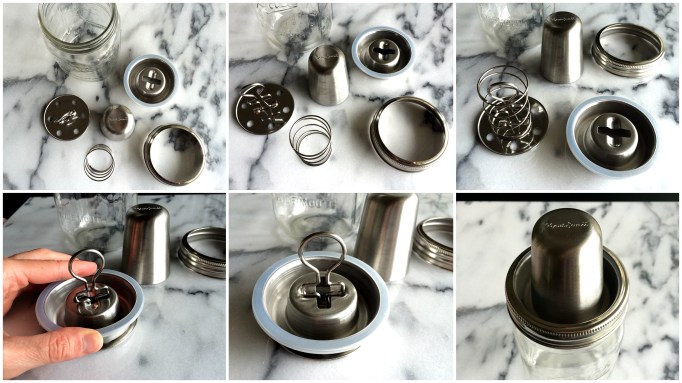
The Kraut Source lid has a spring-loaded plate that pushes the contents in the jar down below the liquid line, it’s freakin genius!! Now, I don’t have to mess with finding weights to fit just right into my jar or anxiously, constantly check to see if stuff has floated to the top…because with this, it just doesn’t. At all. I highly recommend it and can’t wait to start my next ferment! I’ll for sure be getting more of these lids so I can have many ferments going at once! Kraut Source has many wonderful recipes on their site as well as great How-To videos, check them out!
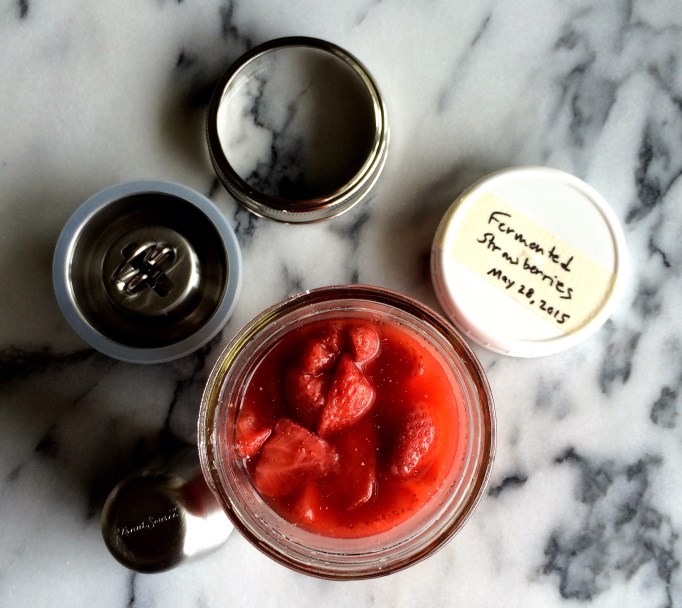
I was inspired to try fermenting fruit from a blog post by Nourished Kitchen about fermenting berries. Don’t freak out, your strawberries WILL NOT taste like sauerkraut, I promise! The berries aren’t fermented with a salt brine; they’re fermented with whey (strained from cultured yogurt), and to that you add honey, water, and bit of salt. You pour that over the strawberries, push the berries down to submerge in the liquid, and top off with water. Attach the lid and let them sit at room temperature for 1 – 2 days, then they’re done. That’s it! They come out tasting slightly tangy and gently sweet, with a very subtle saltiness and effervescence. They’re perfect for folks who don’t like things overly-sweet. That said, in whatever you use these for (topping yogurt or ice cream, adding to smoothies, making beverages and cocktails), you can always add additional sweetener of choice if that’s your thing. They’ll last in the refrigerator for 1 – 2 months…but I’m sure they’ll be eaten up way before that!
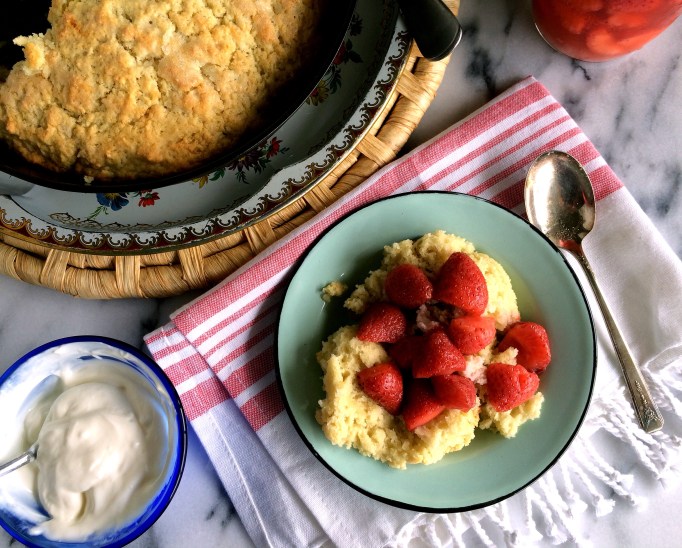
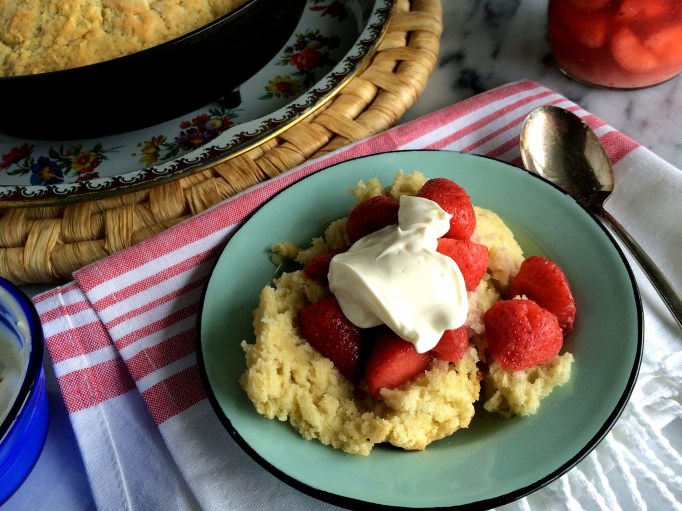
After tasting the strawberries once they were fermented (I let them ferment for 2 days), I immediately thought they would be perfect for strawberry shortcake. And yes, they are!
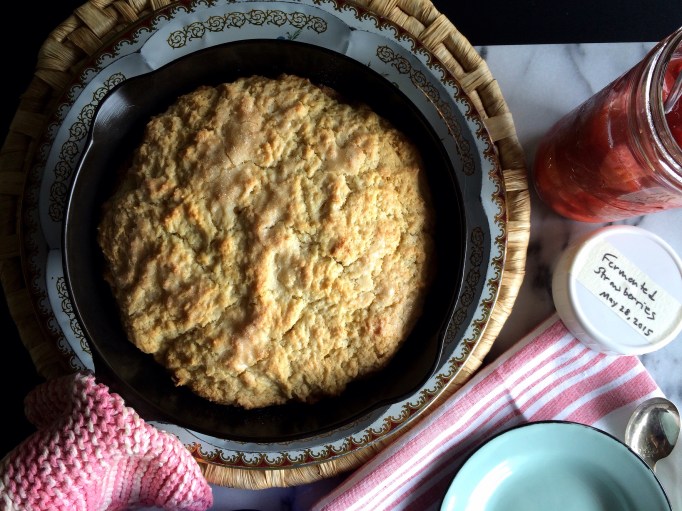
I made a super easy skillet shortcake that you can whip up in no time. The recipe calls for 1 1/2 cups of heavy cream; I didn’t have that much on hand, so I subbed 1/2 cup of coconut milk. That gave it such a nice, light coconutty flavor. Next time, I think I’ll use all coconut milk for a more intense coconut flavor which would go fantastic with the strawberries (and make it vegan).
Quick idea–crumble any leftover shortcake onto a baking sheet and toast in the oven until crispy, then use it to top any roasted fruit or ice cream.
While the shortcake bakes, make the yogurt topping: stir together 1/2 cup of yogurt (or homemade sour cream) with 1/2 tablespoon of vanilla sugar (or plain sugar or honey).
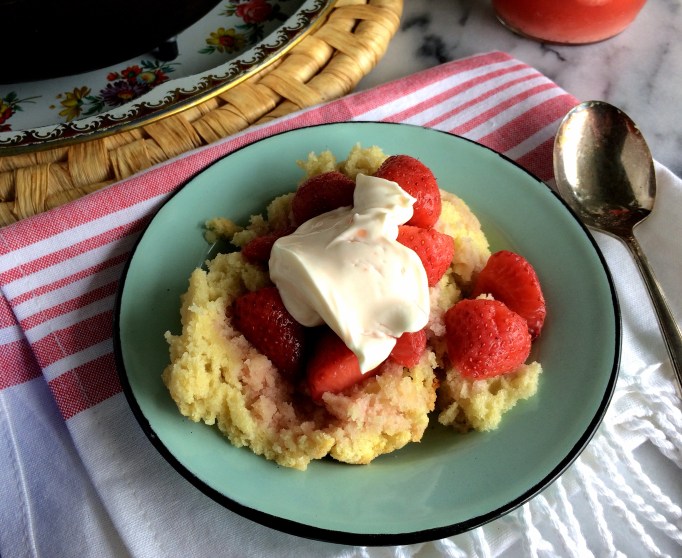
Let the cake cool for a bit then scoop out a piece, cut in half to open up, and top with strawberries and sweetened yogurt. Spoon out some of the strawberry liquid and pour it over the yogurt so it seeps in and softens the cake. Gaaaahhhh!
Now imagine having strawberry shortcake in two months from now, at the height of a sticky hot summer, when strawberries are no longer in season…I’ll be doing a couple extra batches just for that reason… can’t. wait.
Skillet Shortcake with Fermented Strawberries
(slightly adapted from Nourished Kitchen)
2 cups strawberries, hulled (can leave whole or slice in half depending on size)
2 tablespoons honey (or other sweetener)
2 tablespoons whey (strained from yogurt)
1/4 teaspoon sea salt
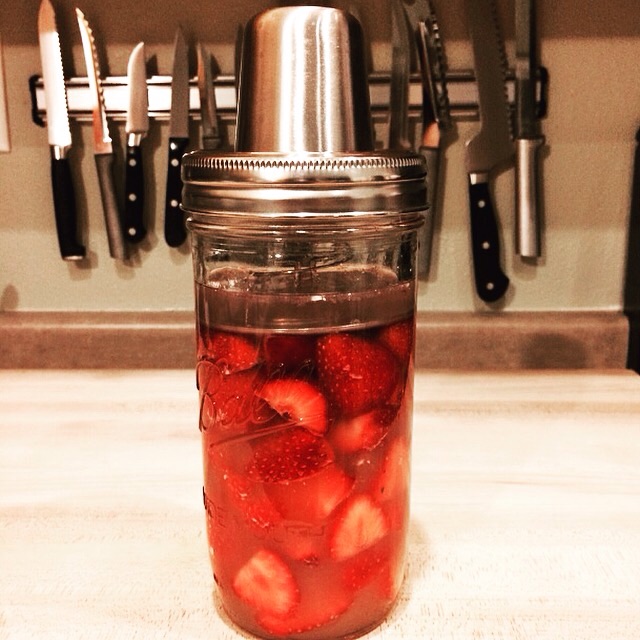
Put the berries in a wide-mouth jar (I used a pint-and-a-half jar). Press them down with a clean hand or wooden spoon. In a bowl, mix whey, honey or other sweetener, salt and a few tablespoons of filtered water. Pour the liquid over the berries, and then fill jar with filtered water, leaving at least 1 1/2 inches of headspace. Press down with a wooden spoon to be sure the water has filled all the air pockets. Add more water if necessary.
Attach the Kraut Source lid (or other suitable lid) and leave at room temperature for 1 – 2 days (I let ferment for 2 days). Attach a regular jar lid and store in the refrigerator for up to 2 months.
Skillet Shortcake:
(slightly adapted from Hello Creative Family)
1 teaspoon coconut oil
2 ½ Tablespoons vanilla sugar (or plain sugar), divided
2 cups of flour
1/4 teaspoon baking soda
2 teaspoons baking powder
1/2 teaspoon salt
1 cup heavy cream
1/2 cup full-fat coconut milk
(or omit cream and use 1 ½ cups coconut milk for a vegan version)
Preheat oven to 400 degrees F. Add the coconut oil to a 9-inch cast iron skillet and place in the oven to melt, for a minute or two.
Mix the dry ingredients together in the bowl of an electric mixer. In a glass measuring cup, mix together the cream and coconut milk, then add to dry ingredients. Using the dough hook on the mixer, mix the wet and dry ingredients together until just combined.
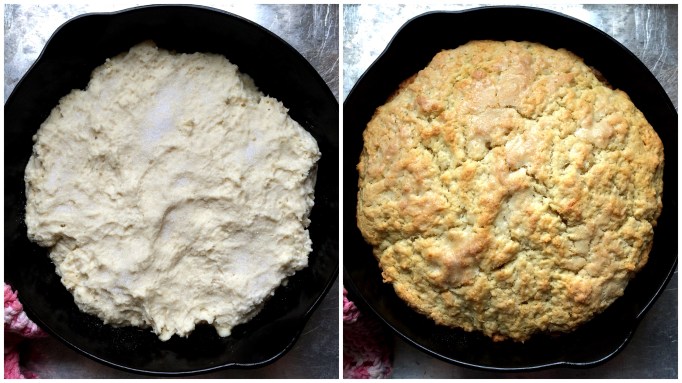
Scoop the dough into the oiled skillet and carefully spread out with your fingertips or the back of a spatula (be careful as the skillet may be hot). Sprinkle with remaining ½ tablespoon of sugar.
Bake for 20 – 25 minutes, until the top is golden and crisp. Let cool, then serve with fermented strawberries and sweetened yogurt (see below). Enjoy!
Sweetened yogurt:
1/2 cup Greek-style or thickened yogurt (or sour cream) mixed with 1/2 Tablespoon vanilla sugar (or plain sugar or honey).


Brilliant!! And duper tasty looking!! I ferment quite a bit and have never given fruit a try, I will now!! Thanks!!
Cooool!! I’ll admit I was a bit skeptical, but am now a convert! Let me know how it goes!
[…] girl Jaime wrote about this fermenting jar. So so […]